
Today I am going to show you how to make this coat rack out of a pallet! I actually guest blogged over at A Little Tipsy a few weeks ago, but I wanted to share it on my blog in case you missed it!

I actually only had to buy a couple of things for the Pallet Coat Rack. I spent a grand total of about $7. If you would like to make one, this is what you will need:
Pallet
Sander & Sand Paper
Hammer
Flat Head Screw Driver
Glue (I used Tacky, my fav!)
Mod Podge
Coat Hooks
Scrapbook Paper
Hanging Hardware
Sealant Spray
Drill and Drill Bits (opt.)

Decide which board you will remove. I tried hammering off the board, but only cracked it…oops. I discovered that it was much easier to wedge the screwdriver between the boards and hammer the end of the screwdriver. This way the wood separates without cracking. Remove nails.
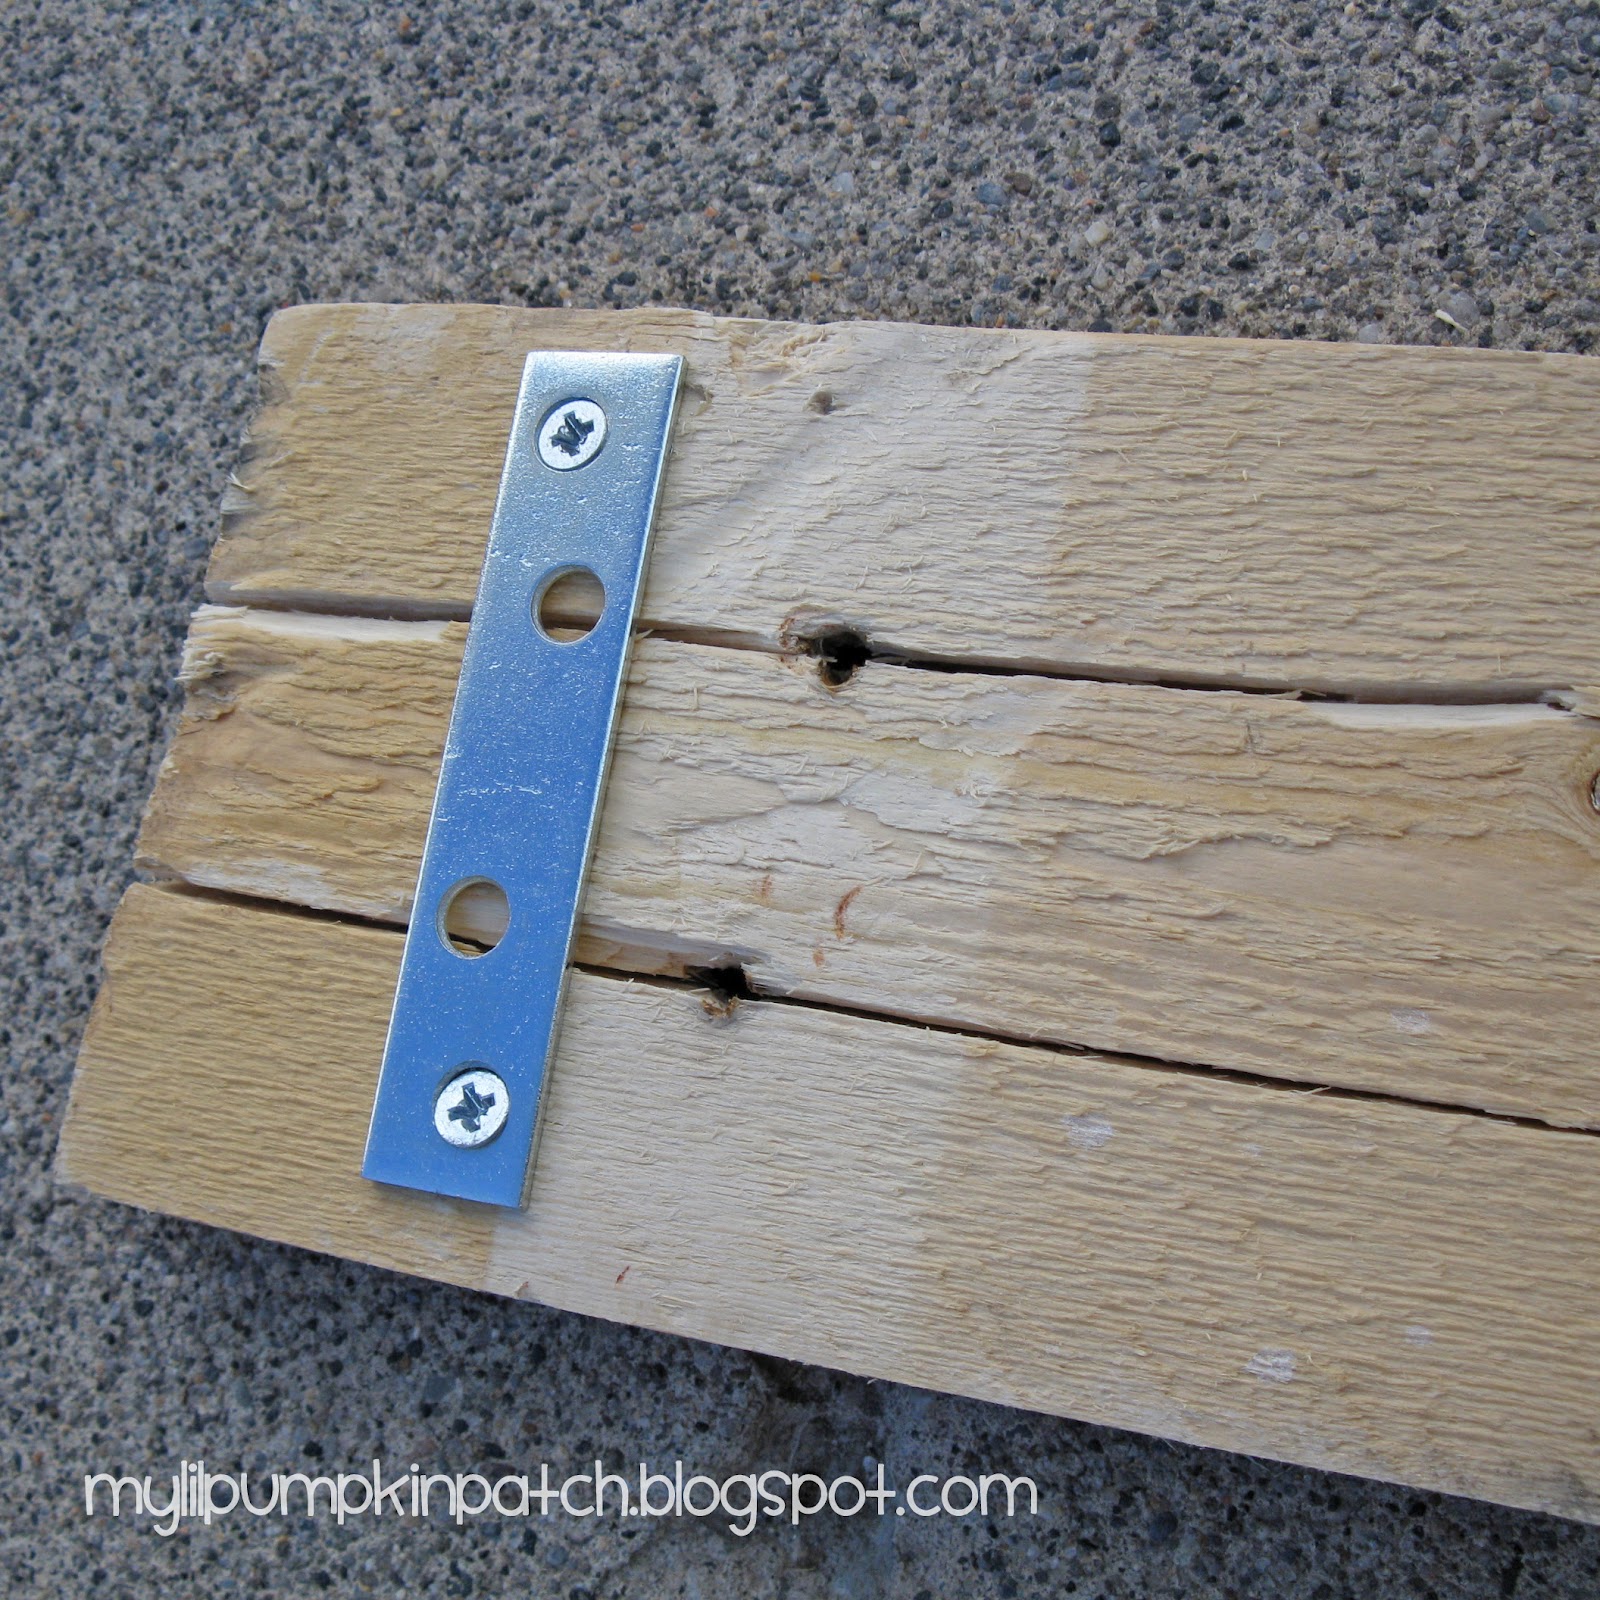
I was about to try for a new board after cracking the first one, but then I decided the cracks added some character. To keep them from splitting more, I attached a few of these flat metal brackets. I found them at the hardware store. They come in handy with wood projects all the time!


I lightly sanded the board to smooth the rough edges and ends to prevent splintering. I didn’t want to sand too much, because I wanted the words to remain on the board.


To decorate the board, I used a paper pad that had coordinating papers. I cut the paper into squares and rectangles to create a pattern. I really like the look of bare wood showing through. (I also thought it would be fun to paint chevron stripes.)


I looked for coat hooks at the hardware store, but they were pretty pricey. (The joys of small town hardware stores...). I wasn't going to spend $3 per hook, so I decided I would keep looking. I found these egg stands at the craft store in the wood section. When you turn them upside down, they make perfect hooks for hanging things!

I spray painted them white so they would stand out from the paper and the natural wood color.

To attach them, I drilled holes that were slightly smaller than my screws through the pallet. Then, I twisted the screws through until they were flush with the front of the board. Then, I put the hooks on top and carefully twisted the screw into the wood. (To make this easier, do this step before you glue on the paper - that's what I did!)

Then, I unscrewed my attached knobs and filled the hole in the knob with tacky glue and also put a bunch of glue around the inner section to stop slipping.

Finish with a few layers of sealant spray, and then attach hanging hardware. Fun, huh? I made this for my aunt and she loved it (which made me very glad!)

11 comments:
I really like this idea. I am looking to place a coat hanger by our front door, and I really need an inexpensive route! Smart move on the egg stands!
Gabby
The...Late, Young Family
I love it! I haven't seen a pallet used to make a coat rack yet and I really need a place for my boys to hang their backpacks! Thanks for the inspiration. I would love for you to link this up at our first ever 4th Friday Finale at Over the Big Moon.
Thanks again for sharing such a cute idea!
Lisa
http://overthebigmoon.blogspot.com/2011/10/4th-friday-finale-102811.html
Great job! Thanks for linking to Things I've Done Thursday.
Melanie
bearrabbitbear.blogspot.com
Neat idea! I have a bunch of pallets waiting for a project ;) Found you at the tt&j linky party btw!
Very cool - great color and pattern choices.
So cute! I love the colors you used. Great idea!
Your coat rack came out very nice. Love it.
GORGEOUS!! Would love it if you would link this up at my turquoise lovin' party going on right now!! http://www.sweetlittlegals.com/2011/11/turquoise-lovin-11.html
SWEET!! Great idea to use the coordinating papers!
Deborah (visiting happily from http://upcyclingmylife.blogspot.com...hope you'll stop by and say hi too...) ♥ ♥
Turned out super cute Steph! This would be perfect in my girls room!
Marie
mylilpinkpocket.blogspot.com
I love it! I have a pallet sitting in the garage just waiting to be re-purposed like this! Amazing job.
I'd love for you to link up to Fresh Friday Link Party on my blog!
http://www.releasemecreations.com/2011/11/fresh-fridays-link-party-2-on-release.html
Post a Comment